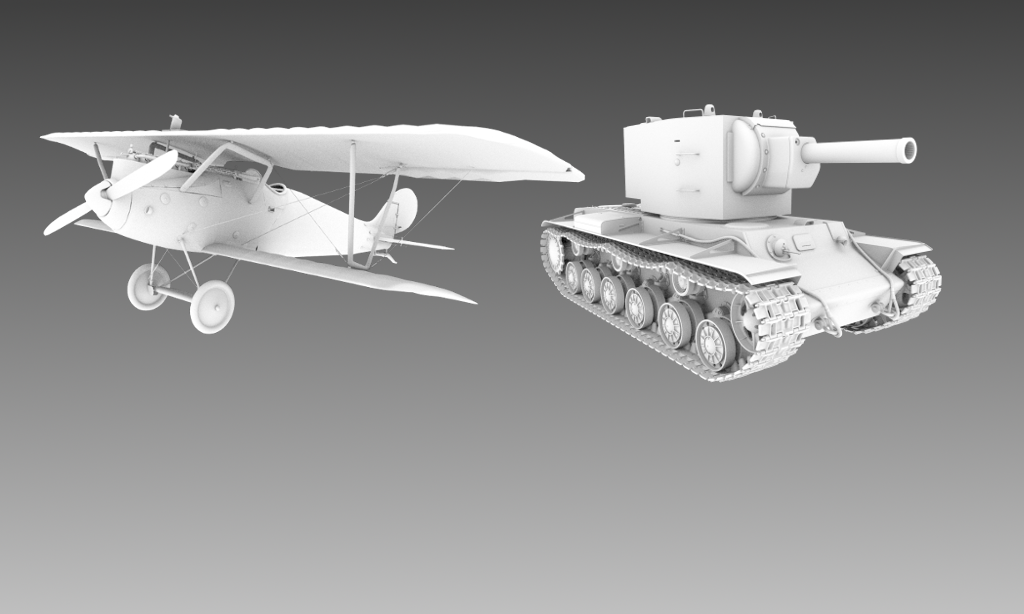
Took a while but cgmvios is available on the app store.
New feature: .exr texture support (May 2024)
Added support for .exr format texture image files
New feature: limited USD (.usd/.usda/.usdc/.usdz) model support (May 2024)
.usd/.usda/.usdc/.usdz models may now be loaded, with limitations:
- No animations
- No blendshapes
- “Layered” .usd* models not supported
New feature: “Cardboard” VR support (Mar 2024)
“Cardboard” VR SDK integrated; users with “Cardboard” VR headsets can put the app in cardboard viewing mode, place their phone in the headset and view the 3D models in VR.
Alternatively, AR mode can be enabled, and then instead of using the gyro sensors to move the viewpoint, the AR tracker will be used instead. This has the advantage of allowing the user to move around the object, instead of having their position locked at the center of the object in standard cardboard VR mode.
New feature: stereoscopic 3D (ca Feb 2024)
Tablets with column-interleaved stereoscopic 3D lenticular pattern now supported for viewing in stereoscopic 3D
New feature: ARCore “Streetscape” (ca Jun 2023)
Added option to view local buildings via ARCore “Streetscape” feature. Once the streetscape geometry is loaded, you can turn off AR and set master opacity to zero on the “FX” tab, and peruse the streetscape terrain model via the trackball as for any other 3D model. Not that useful, but interesting…
New feature: cubemaps (~May 2023)
Can now add cubemaps which can be used for
- Virtual background
- Reflection map
- Refraction map
Nice cubemaps can be downloaded from humus.name, and the app can use them without modification
New feature: improved texture support
Many 3D model files come bundled with nice UV textures, but the model file doesn’t reference those textures internally. At last, those textures can now be applied to the model. The right hand drawer now supports changing 6 color types and 7 texture types (though not all of them are fully wired up yet).
In this video we copy a helicopter 3D model which comes bundled with nice textures but doesn’t reference them internally. Using the material menu provided in the right hand drawer, we can apply textures to the diffuse and specular channels for an improved 3D model viewing experience…
New feature: OpenGL clipping planes now adjustable
It’s not easy to pick near and far clipping plane values which are suitable for all models which the user might try to load using the app. If a 3D model with large dimensions is loaded (say a big house), when zooming out there’s a chance the model will start moving beyond the far clip plane, meaning it will be invisible. Without the means to adjust the planes, the viewing experience would be frustrating. But this new feature means that the planes can be easily adjusted instantly, which should extend the reach of models which can be successfully viewed using the app.
Tutorial/demo video available:
Adjusting 3D model orientation in AR
Those pesky axes…
X, Y and Z axes in 3D modelling are arbitrary. So while many models use the “Y” axis to represent “up and down,” this isn’t a hard requirement and sometimes there will be outliers that use a different configuration; for example, “Z” might be “up and down” while “Y” might be “left and right.” This isn’t a problem per se, but it can quickly become an annoyance when the model is brought into an AR environment and displays upside down or sideways etc.
Fortunately this app provides simple controls to correct this situation, and it’s easy to use once you know how! The video walks the reader through adding the “Brainstem” demo model (which happens to suffer chronically from this outlier condition), placing him in an AR environment and convert his orientation so instead of break dancing flat on his back, he’s standing up.
